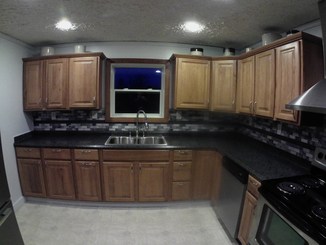
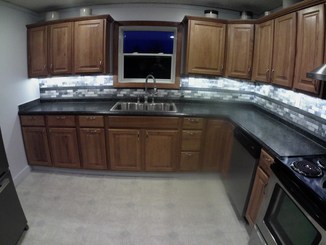
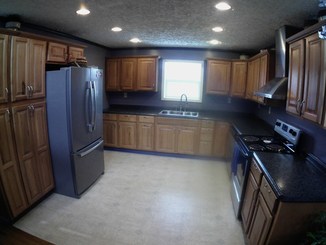
I brightened up my old kitchen with under cabinet lighting a tile backsplash. Wow-what a difference it made. This article is about how I added the lights before installing the tile backsplash.
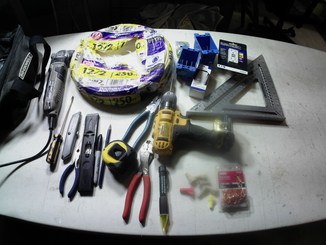
Tools and things needed
- wire #12/2 nm-b (enough to complete the job, sold by the roll 25′, 50′, 100′ or 250′)
- outlet boxes PVC old work (these boxes do not need to be attached to a stud)
- switch and outlets (specialty outlets included USB charging, specialty switches motion detection or timed)
- wall plates for new outlets
- wire connectors/wire nuts, crimp connectors
- under cabinet lights
- small wire clips
- screws 3/4″ for clips
- drywall screws (to reinstall drywall)
- joint compound and drywall tape
- utility knife
- pliers (needle nose with cutting ability)
- screwdrivers (multi-tip works well)
- saw to cut the drywall board (oscillating multi-tool works great)
- drill with a 3/4″ drill bit (to drill through wood studs)
- electrical tester (non-contact works nice for this job)
- joint knife for finishing drywall (6″ and 10″ if you want a smooth finish for painting)
- drywall sanding sponge
- paint
*WARNING USE CAUTION WHEN WORKING AROUND ELECTRICITY*
*ELECTRICAL SHOCK CAN KILL YOU*
*I RECOMMEND THAT YOU CONSULT AND HIRE A ELECTRICIAN*
Planning for installing under cabinet lights
Where to place the switch and lighting power supply
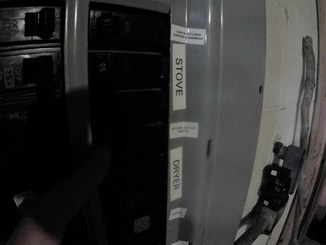
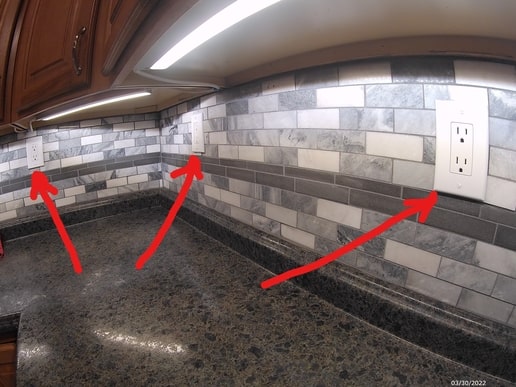
The first thing you will want to do is look at where you will get the electrical supply. Now that you have the electrical supply (outlet), you can add outlets in areas lacking.
** Most kitchens, by code, are on their own circuit/breaker and have room for more outlet receptacles.
*article about home wiring code coming soon*
You will want to find out where the wall studs are behind the drywall. To learn more, visit this post on: 4 different ways of finding a wall stud

The next step is to turn off the power to the outlets you will be working around.
TIP: Double-check to ensure the power is off to the outlets you will be working around.
Opening Up The Wall
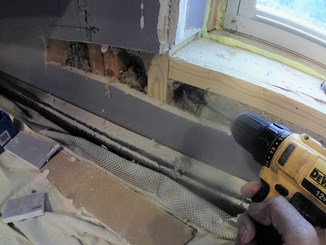
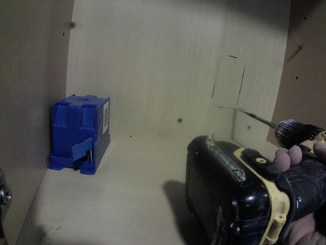
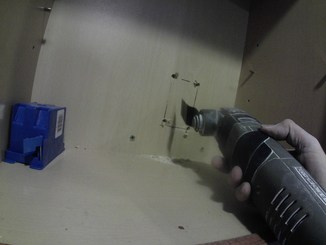
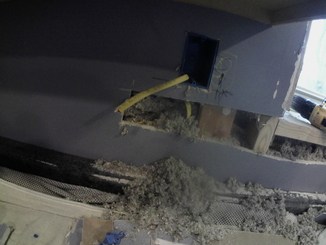
It is time to cut out the drywall after you have the location where you want to place the new outlets and switch. The best tool I have found to cut out the drywall and the back of the cabinet is what is called a ( variable speed oscillating tool)
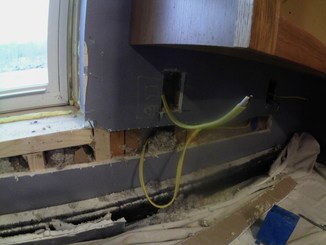
Cut the drywall out where you want to run the new wire for the under-cabinet lights power supply. The strip of drywall you cut out needs to be wide enough to drill the new holes in the studs (about 3 inches) and save the pieces.
TIP: Cut the drywall below (about 2 inches) where you want to add the new switch and any outlets. Doing this makes it easier to add the new electrical boxes and access the existing outlet.
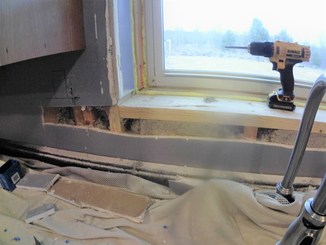
TIP: Before you drill any holes through the studs, check the stud for any wires running up the backside and move them out of the way before drilling.
*If you do damage any wires while drilling, you will need to repair them before you close the wall up with a junction box*
TIP: Drill the holes so there are at least 1 1/4 inches deep into the stud, or you will be required by building code to install a metal protection plate (protection from a drywall screw shorting out the wire)
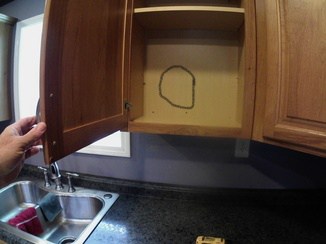
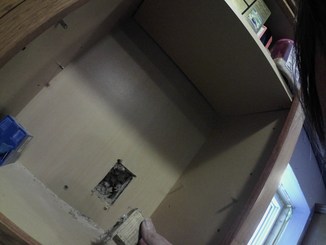
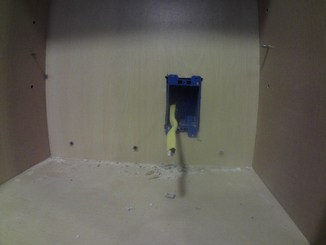
Cut in the new outlet and switch holes in the wall and the cabinet.
TIP: Remove cabinet doors; it gives you more room
TIP: In the back of the cabinet, drill each corner of the proposed opening to give you a cleaner hole.
TIP: Measure any existing outlets and make the new switch and outlets are the same height.
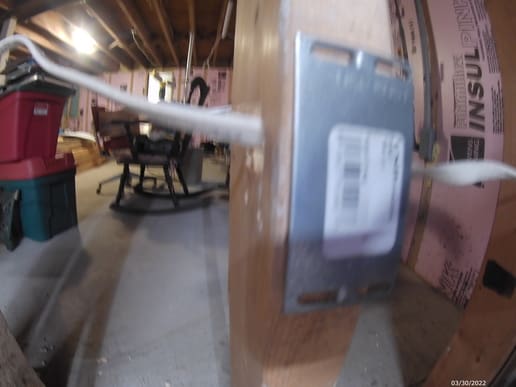
Pull the wire through the holes you drilled and into each new switch and outlet location
I like to install the wire in the old work boxes and then slip them into the hole and tighten up the clamps that hold the old workbox. You could also install the new outlet or switch in the old work box before installing it in the hole. It would save you a step.
Wire the new outlets and connect them to the power supply outlet. Turn the power back on and test the system before replacing the drywall. I used the oscillating tool to test the system.
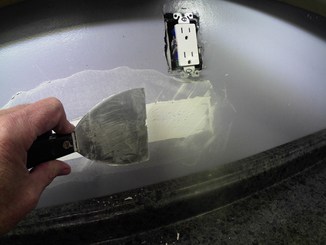
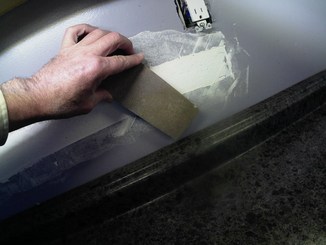
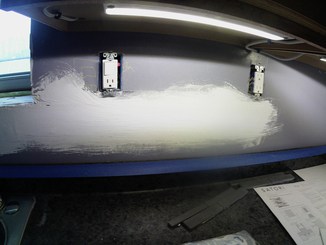
Install the drywall that you saved from the original cutting.
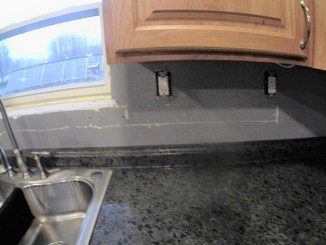
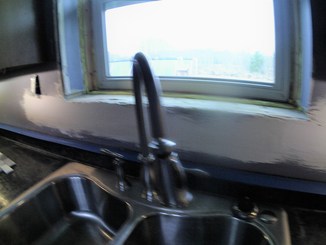
Finish the drywall and apply a primer coat of paint. (you will need to do this step even if you plan on installing a tile backsplash.
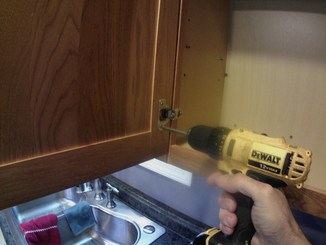
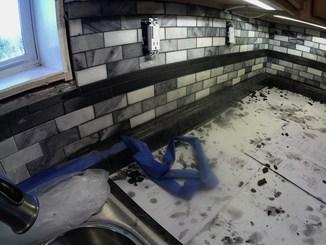
Install the undercabinet lighting as per manufacturer instructions.
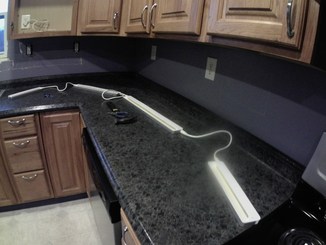
Now that you are done with the undercabinet lighting on to the next project
Tile Backsplash *link to the article coming soon*
I hope you found this article helpful and best of luck with your project.
Gary 3/13/2022