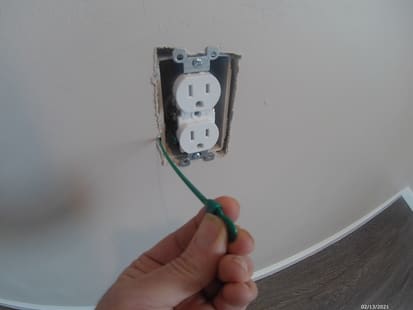
Sometimes you will want to find a wall stud or a ceiling joist to hang something heavy on.
How to find a wall stud
- Remove the cover off an electrical outlet or switch and insert a plastic coffee stir stick along the side of the outlet or switch box; if it stops about 1/2 inch in the wall, you have found the stud. If not, try the other side.
- Look very closely at the wall you want to locate the stud on, and look for any round imperfections popping out of the wall; this is most likely caused by a popped-out nail or screw holding the wallboard onto the stud; that is where the stud is located.
- Measure over from a corner ( 24″ or 16″ increments) and at the top of the base-trim and pound in a thin finish nail or drill a tiny hole; if the nail or drill stops about 1/2 inch in, you have found the stud. Use painter’s caulk to repair any holes that missed the stud.
- Use a battery-operated stud finder

Remove an outlet cover method.
Removing a wall outlet cover is a reliable way to locate a wall stud.
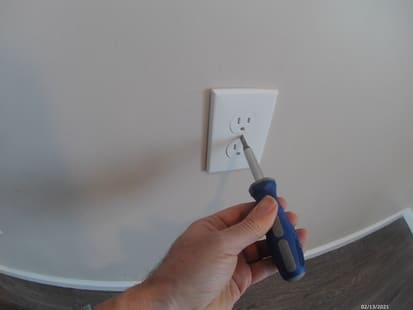
Using a screwdriver, remove the cover off a plug outlet or a switch. This will expose the sides of the outlet box. The box may be metal, brown or blue plastic. The age of the electrical system will determine the material the box is made of; the newer systems are blue plastic.
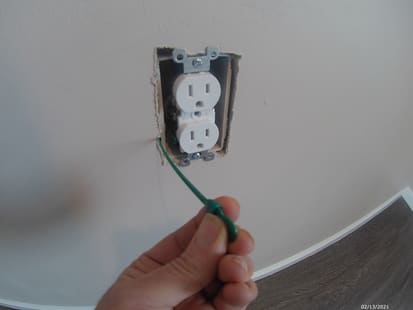
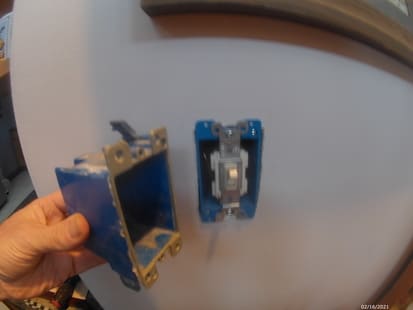
To find the stud insert a thin probe (plastic coffee stir sticks work great) next to the side of the outlet box. I like to use plastic because it does not conduct electricity. The side the stud is on will stop at about 1/2″. The other side will be empty, except for insulation, and should slip in deeper than the 1/2″.
Now that you have found the stud side of the outlet, you can measure over and find the edge of the adjacent studs. The wall studs are laid out on 16″ centers or 24″ centers.
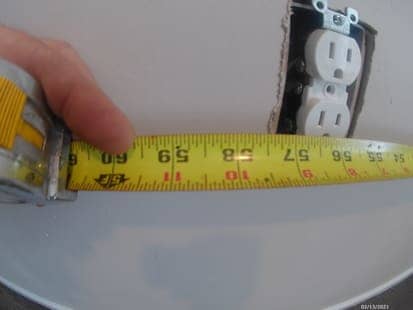
Measure over to the corner; most wall layouts start from one side. If your measurement comes on a 24″ or 16″ increment, you have found the wall from which the layout started. The picture above shows the wall was laid out from the left side.
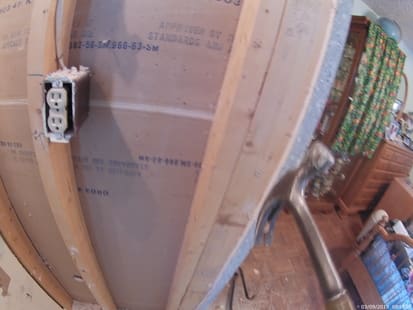
You can see from the picture above that the outlet boxes are located along the side of the stud. A dimension stud is 1 1/2″ wide in modern construction. If you have an older house, it might have been built using a true 2″ wide stud.
Another instance in which removing the outlet cover will be less than reliable is if the installer nailed a short piece of material on the side of the stud (or two), otherwise known as a scab, to move the box over. This is done when the trim on a door or window is wide or you need to have it at a particular spot.
Walls filled with spray foam will be a challenge if the wall cavity is filled with insulating foam.
Removing the ceiling light fixture is unreliable for locating the ceiling joist because framers will install a board spanning between the joist to center the light fixture box. A unique box that has adjustable metal brackets that span between the joist is also commonly used.
If you have a ceiling fan hanging in the center of the room, there is likely a board spanning the joist. A ceiling fan must be secured with a special box, or you could find it dangling from the ceiling by its wires when the box fails.
Drywall imperfection method
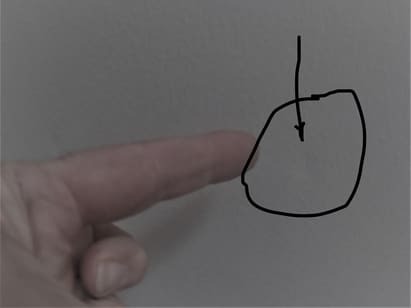
The imperfection method is very reliable when it comes to locating a stud. When the drywall is attached to the wall or ceiling, the stud or joist sometimes shrinks or moves when the stud or joist dries out. This is common with lumber that has been left out in the weather, or the house was built in less than dry weather: rain or snow.
What you want to do to locate these imperfection spots is to get a little flashlight and shine it on the wall at an angle. You can put your head close to the wall and look at it from an angle. If there are any divots, bumps, or seams, they will become noticeable. When you find what you think is a nail or screw spot, take a tiny nail or drill and insert it into the wall to see if there is a stud. When you find the stud, you can measure off the wall for a reference point to locate which corner the wall was framed from. You can then use the 24″ or 16″ stud on the center method to locate the remaining studs. Walls are framed on a 24″ center or 16″ on the center method.
How the studs in the wall are placed or laid out.
What the framers do is start from one side of the room. They will lay the studs out so that if you have an 8′ long piece of drywall, the seam or edge will land on the center of the stud. The stud is 1 1/2″ wide so that you will have 3/4″ on each side of the 8′ mark. Every increment is the same. At 4′, you will have 3/4″ on each side of the center of the stud and so on.
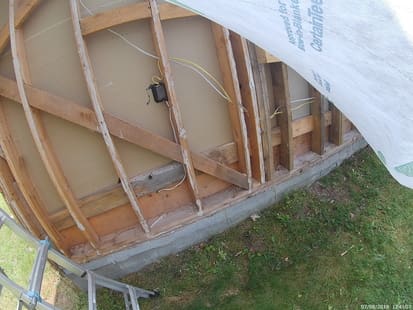
Word of caution, once you find an imperfection, you can not un-find it, and you will see it every time you walk into that room. Just saying.
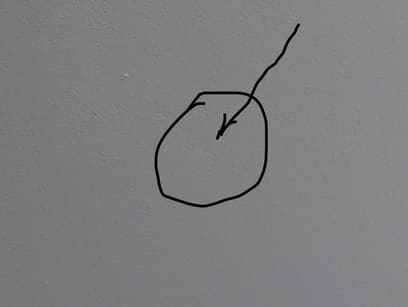
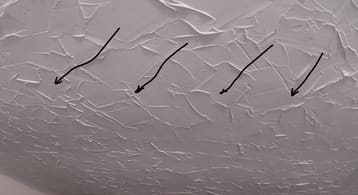
You can use the imperfection method on ceilings also. Sometimes you can see where the but-joints (ends of one sheet of drywall meet another). Screw or nail divots are more common.
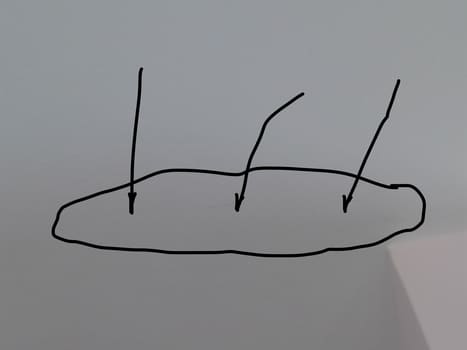
Sometimes you can see where the ceiling drywall is sagging down from the weight of the insulation above.
I hope this information has been helpful
Good luck
Gary. 3/7/2021 updated 2/2/22, 2/16/2023
I take all the photos for these articles.

